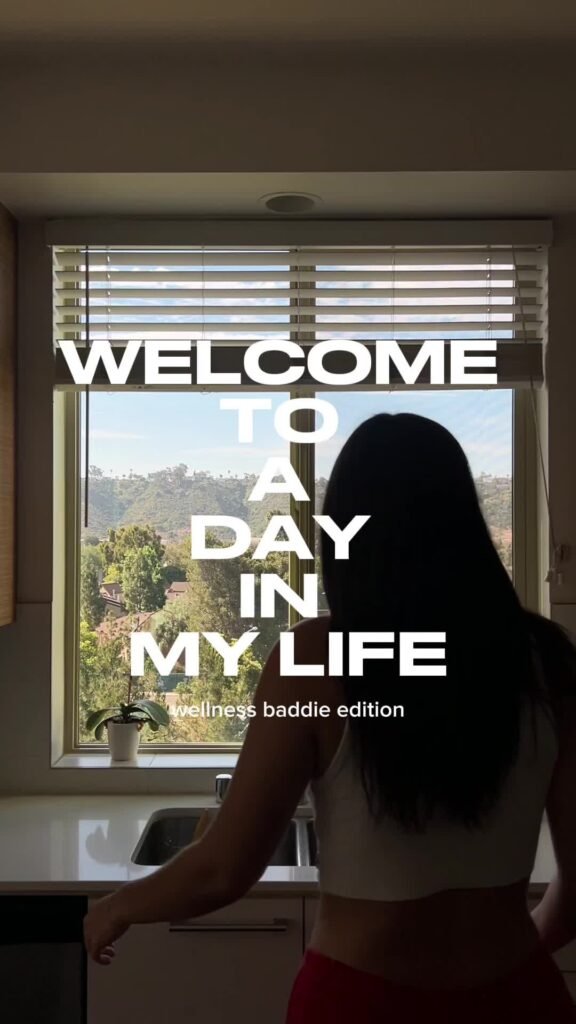
How to Edit Cinematic Travel Transitions in 1 Minute (Create Viral, High-Retention Travel Edits)
Look, I’ve spent hours in the editing suite so you don’t have to—and here’s the truth most travel creators don’t […]
Look, I’ve spent hours in the editing suite so you don’t have to—and here’s the truth most travel creators don’t […]
Look, I’ve spent hours in the editing suite so you don’t have to—and here’s something most creators get completely wrong
Look, I’ve spent hours in the editing suite so you don’t have to—and if there’s one thing I’ve learned editing
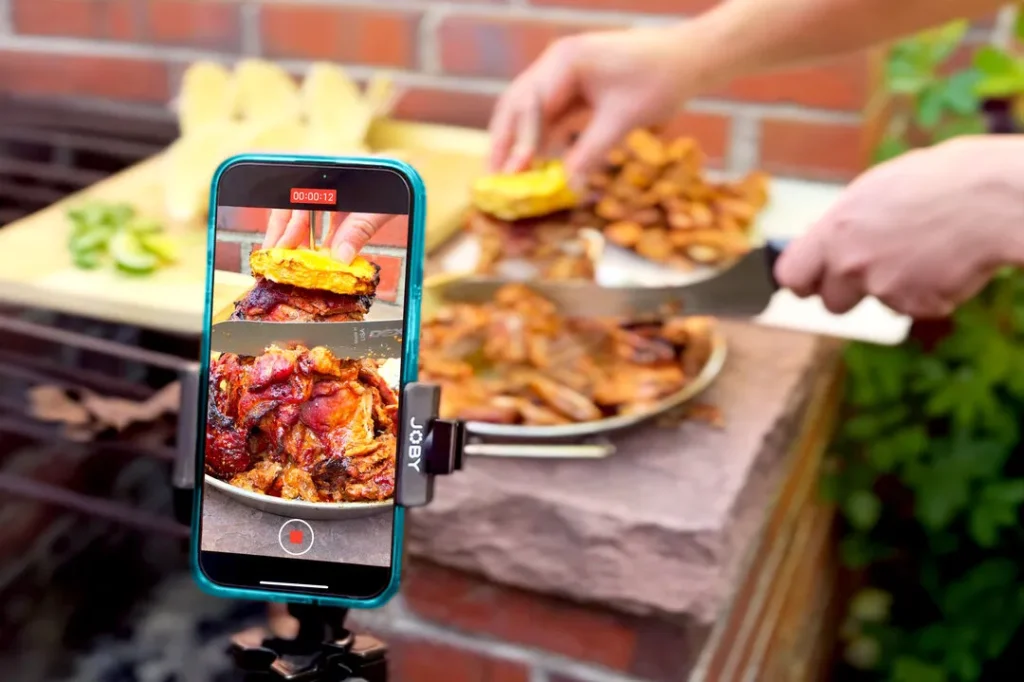
Look, I’ve spent years inside editing timelines for food creators so you don’t have to—and here’s the blunt truth: Most

Look, I’ve spent years cleaning up messy audio in post-production so you don’t have to—and here’s the uncomfortable truth most

Look, I’ve spent years fixing grainy, noisy low-light footage in post-production so you don’t have to—and here’s the truth most

Fix Instagram Reels audio sync issues after upload with pro editing, export, and AI workflow techniques (2026 guide). Look, I’ve
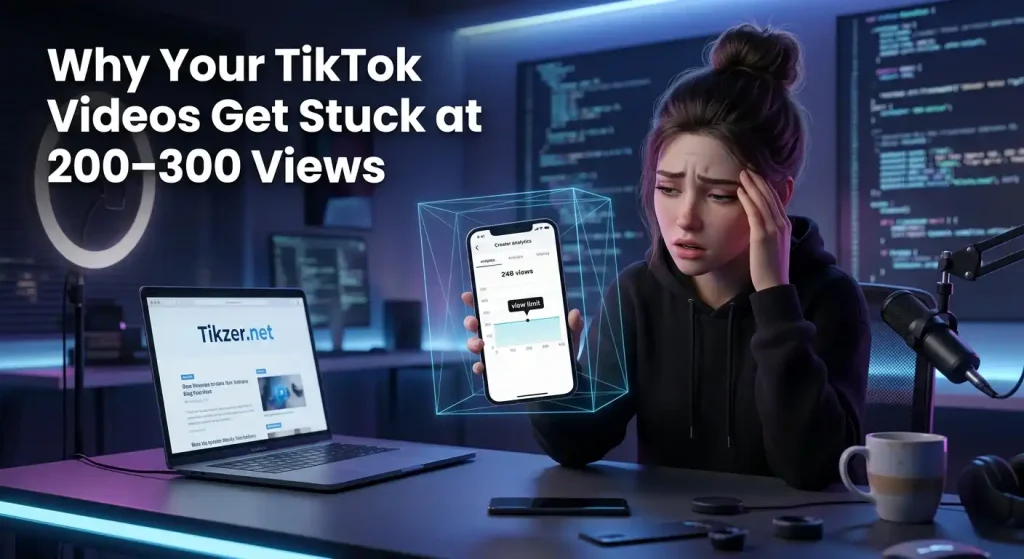
Discover why your TikToks are stuck at 200 views and fix it with pro editing, AI tools, and high-retention techniques
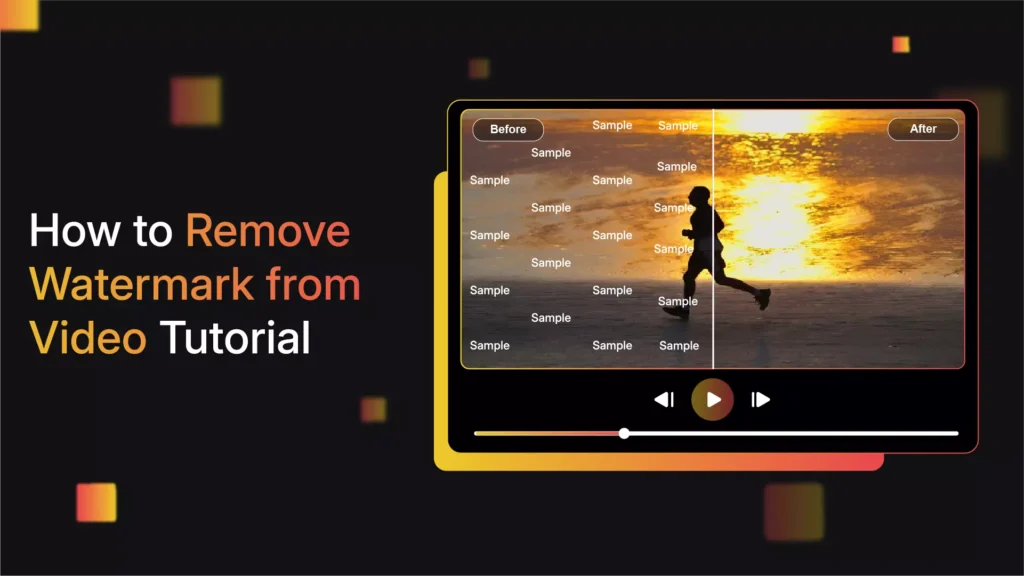
Learn how to remove watermarks from video editing apps for free using pro editing, AI tools, and smart export tricks
Discover the best free alternatives to Premiere Pro for short-form creators with AI tools, pro workflows, and viral editing tips