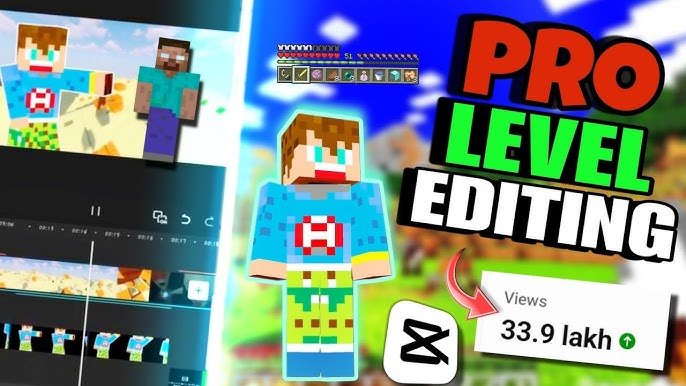
How to Edit High-Quality Minecraft Shorts on Mobile (Create Viral Edits with Pro-Level Retention)
Look, I’ve spent hours in the editing suite so you don’t have to—and if there’s one niche exploding in 2026, […]
Look, I’ve spent hours in the editing suite so you don’t have to—and if there’s one niche exploding in 2026, […]
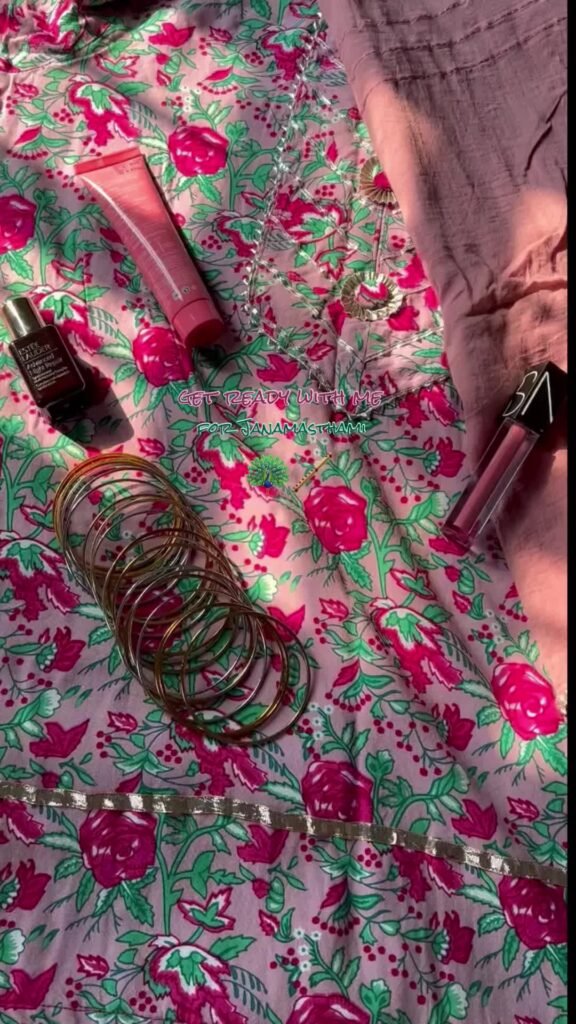
Look, I’ve spent hours in the editing suite so you don’t have to—and here’s the truth most GRWM creators don’t
Look, I’ve spent hours in the editing suite so you don’t have to—and here’s the truth most travel creators don’t
Look, I’ve spent hours in the editing suite so you don’t have to—and here’s something most creators get completely wrong

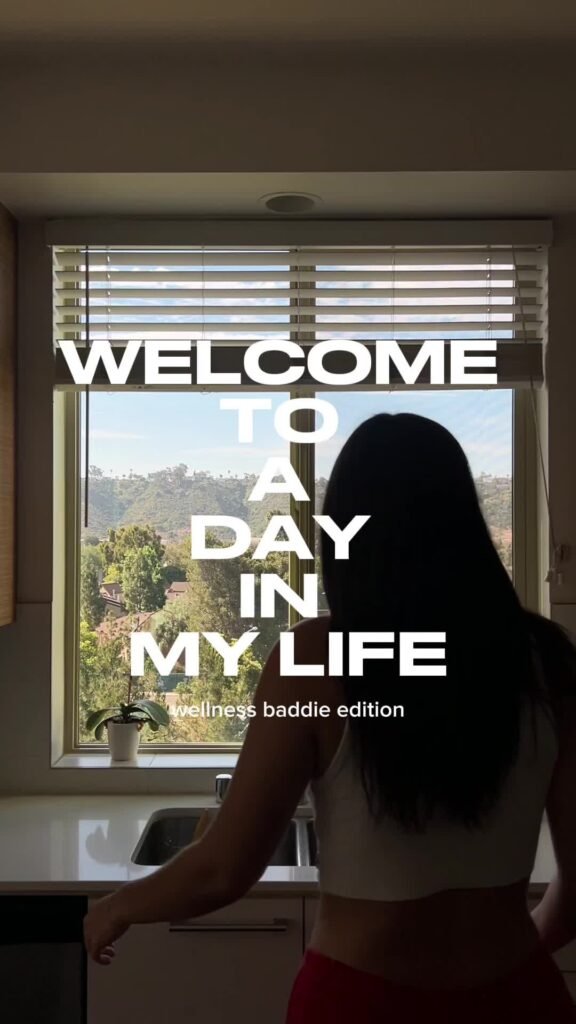
Look, I’ve spent hours in the editing suite so you don’t have to—and if there’s one thing I’ve learned editing

Look, I’ve spent years inside editing timelines for food creators so you don’t have to—and here’s the blunt truth: Most

Look, I’ve spent years cleaning up messy audio in post-production so you don’t have to—and here’s the uncomfortable truth most

Look, I’ve spent years fixing grainy, noisy low-light footage in post-production so you don’t have to—and here’s the truth most