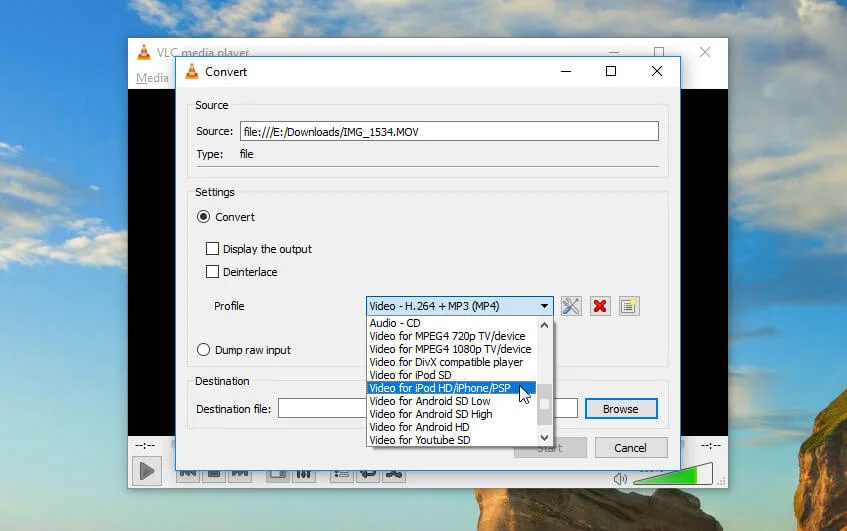
How to Reduce Video File Size Without Losing Quality for Web (2026 Pro Compression Guide for Creators)
Learn how to reduce video file size without losing quality for web using pro compression, AI tools, and export settings […]
Learn how to reduce video file size without losing quality for web using pro compression, AI tools, and export settings […]
Fix flickering lights in your smartphone video recordings using pro camera settings, editing, and AI tools (2026 guide). Look, I’ve

Learn how to use a phone as a webcam for high-quality streaming with pro settings, AI tools, and creator workflows
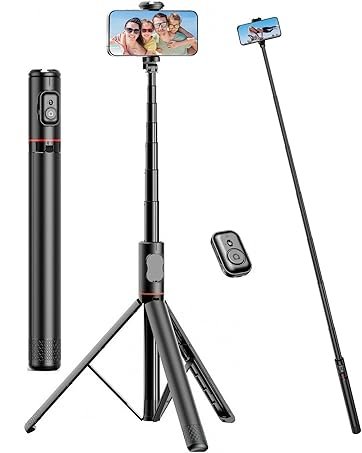
Discover the best mobile tripods for solo content creators under $20 with pro tips, setups, and viral filming techniques (2026).
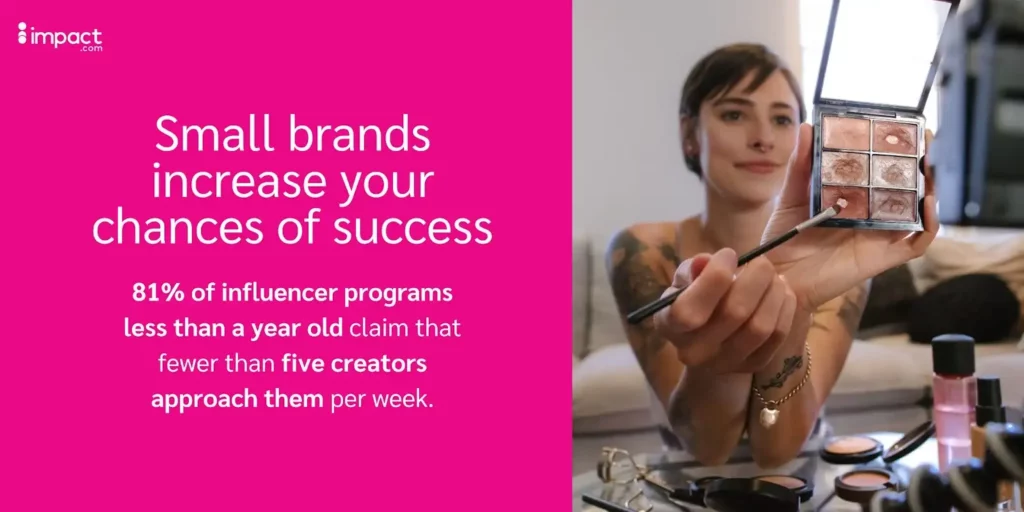
Learn how to get brand deals as a small short-form creator using viral editing, AI tools, and high-retention strategies (2026).
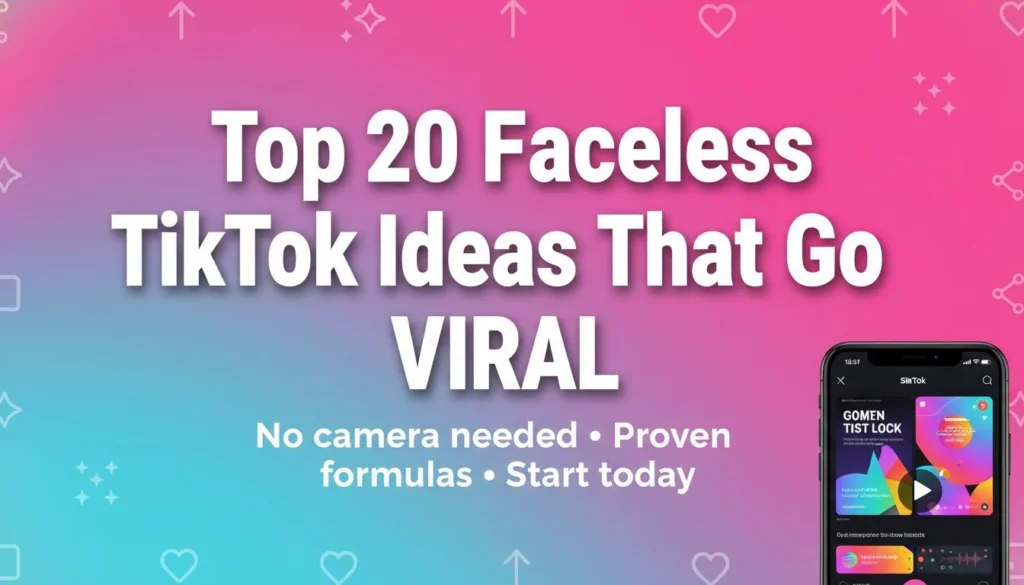
Discover the best ways to monetize a faceless TikTok page in 2026 using AI tools, viral editing, and high-retention strategies.
Look, I’ve spent hours in the editing suite so you don’t have to… and here’s something every serious creator eventually
Welcome to WordPress. This is your first post. Edit or delete it, then start writing!