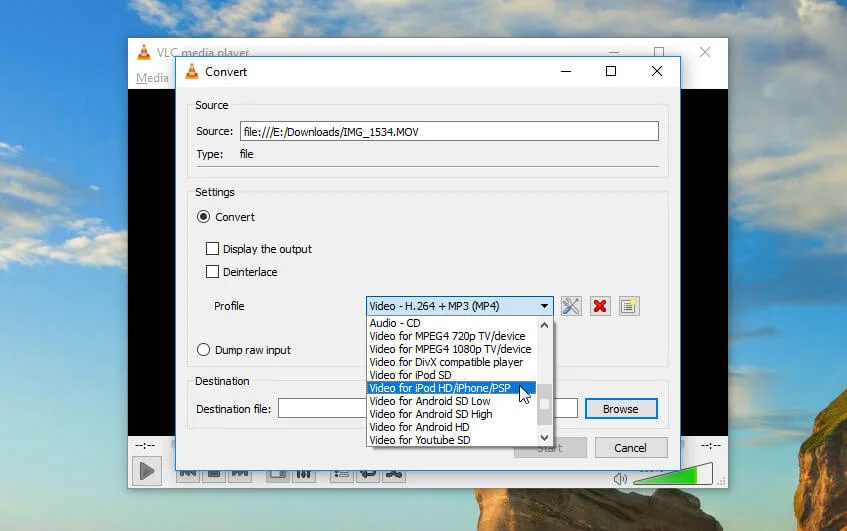
How to Fix Instagram Reels Audio Sync Issues After Upload (2026 Pro Guide for Perfect Lip-Sync & Retention)
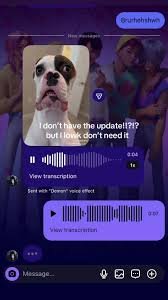
Fix Instagram Reels audio sync issues after upload with pro editing, export, and AI workflow techniques (2026 guide). Look, I’ve […]
Fix Instagram Reels audio sync issues after upload with pro editing, export, and AI workflow techniques (2026 guide). Look, I’ve […]
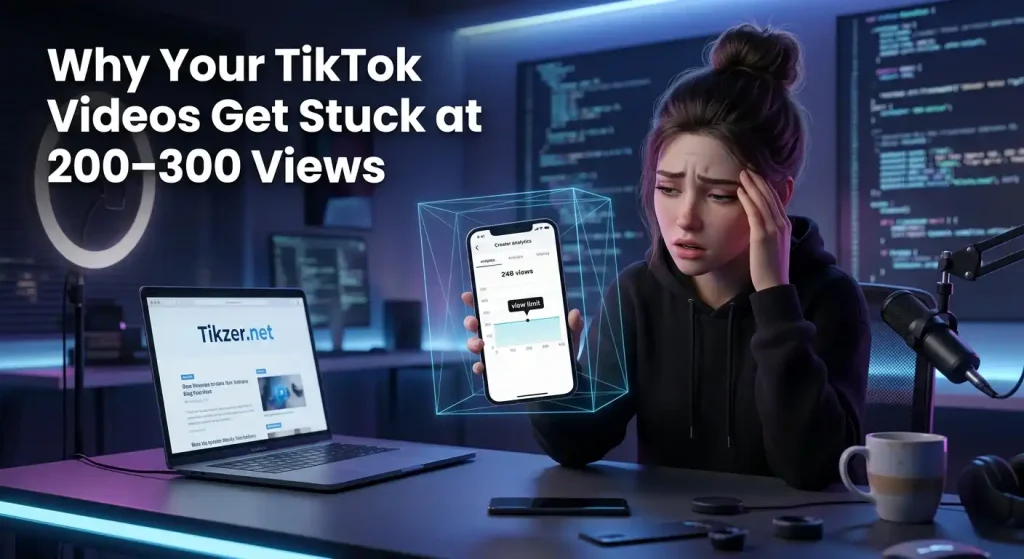
Discover why your TikToks are stuck at 200 views and fix it with pro editing, AI tools, and high-retention techniques
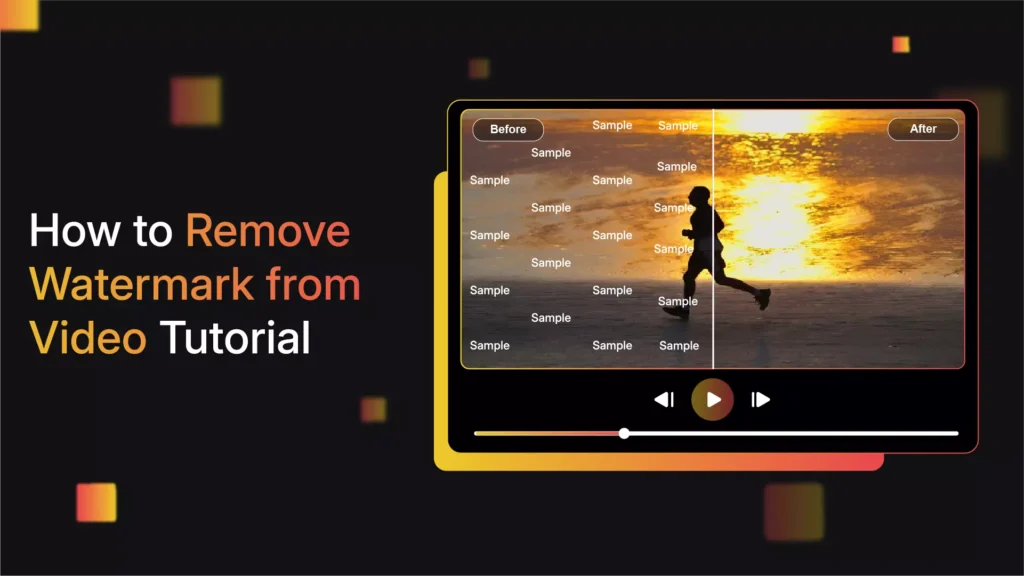
Learn how to remove watermarks from video editing apps for free using pro editing, AI tools, and smart export tricks
Discover the best free alternatives to Premiere Pro for short-form creators with AI tools, pro workflows, and viral editing tips
Learn how to reduce video file size without losing quality for web using pro compression, AI tools, and export settings
Fix flickering lights in your smartphone video recordings using pro camera settings, editing, and AI tools (2026 guide). Look, I’ve

Learn how to use a phone as a webcam for high-quality streaming with pro settings, AI tools, and creator workflows
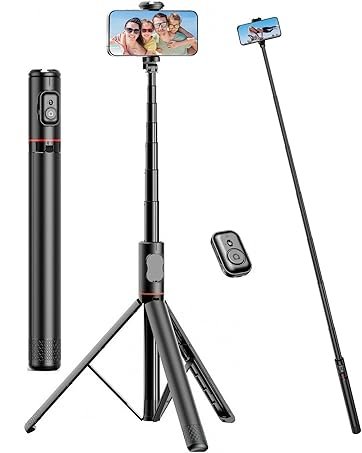
Discover the best mobile tripods for solo content creators under $20 with pro tips, setups, and viral filming techniques (2026).