Discover the best mobile tripods for solo content creators under $20 with pro tips, setups, and viral filming techniques (2026).
Look, I’ve spent hours in the editing suite so you don’t have to… but here’s something most creators ignore:
Bad camera stability kills your content faster than bad editing.
You can have perfect color grading, clean cuts, and great storytelling — but if your footage is shaky or poorly framed, your retention drops instantly.
That’s why choosing the best mobile tripods for solo content creators under $20 is one of the smartest upgrades you can make in 2026.
And no… you don’t need expensive gear.
Why Tripods Matter More Than Editing (Yes, Really)
Here is the real talk about high-retention editing:
Before viewers notice:
- Your keyframing
- Your color grading
- Your transitions
They notice:
Stability.
Shaky video signals:
- Low quality
- Low effort
- Less trust
Stable video = professional feel = higher retention.
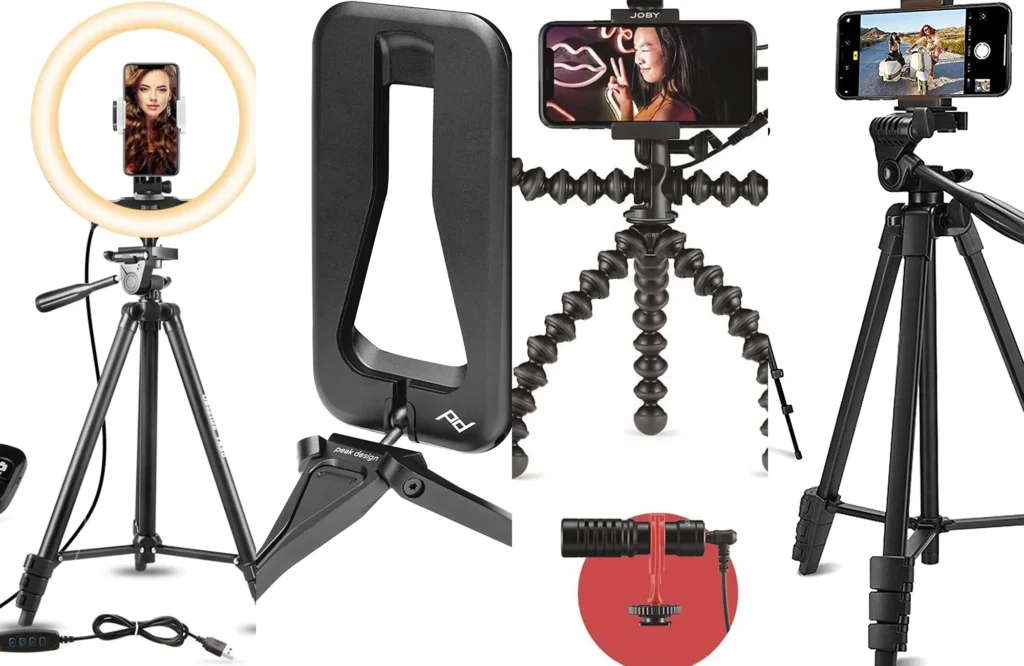
Best Mobile Tripods Under $20 (Top Picks)
Here are some budget-friendly tripods that actually work for creators.

Universal Smartphone Flexible Octopus Tripod
Price not available•Flexible, universal smartphone tripod for stable shots.

10-inch Flexible Mini Tripod with Phone Holder
Price not available•Compact mini tripod with phone holder, ideal for vlogging.
Flexible Tripod Stand for Mobile and Camera
Price not available•Versatile tripod stand suitable for mobile and camera use.
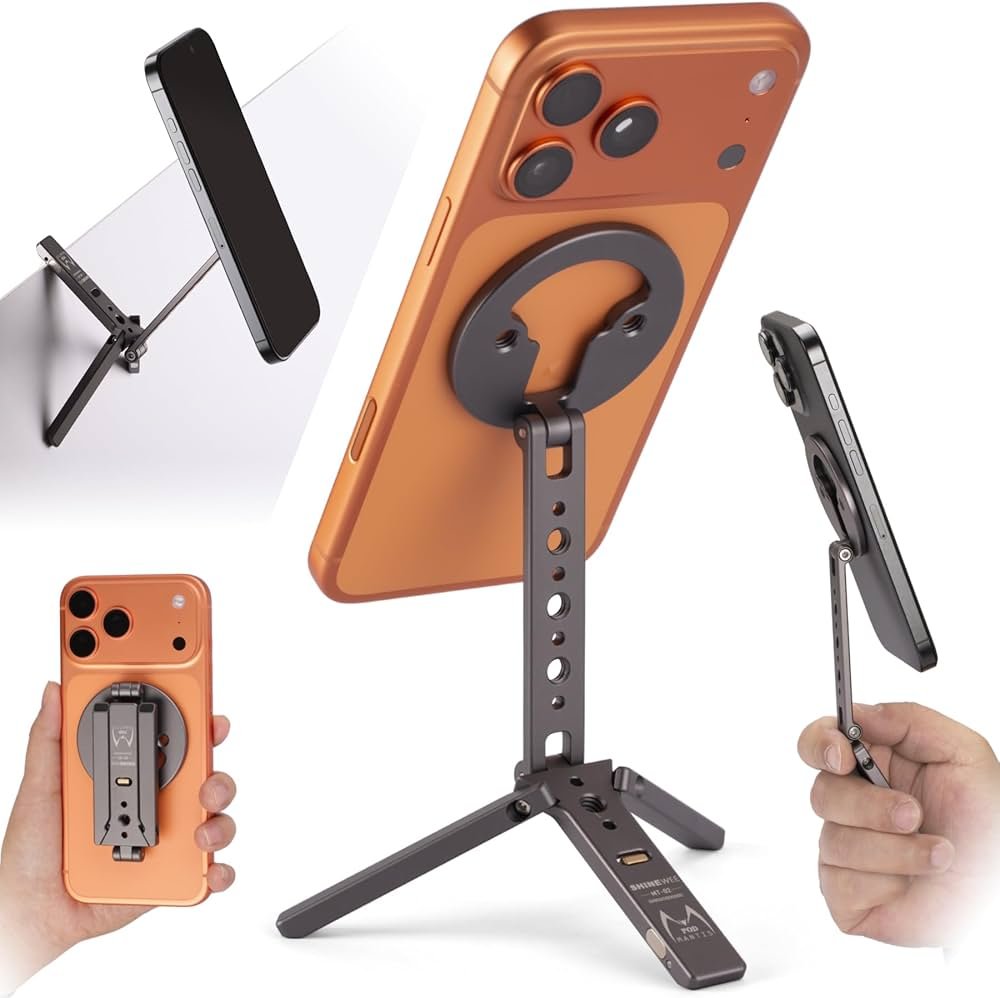
JMARY MT-25 Mini Tripod
Price not available•Portable mini tripod with adjustable legs for photography.
Mini Cell Phone Flexible Tripod Stand
Price not available•Flexible stand for smartphones, perfect for content creation.
Quick Breakdown (What Makes These Good?)
Flexible “Octopus” Tripods
- Bendable legs
- Wrap around objects
- Perfect for creative angles
Mini Tabletop Tripods
- Stable on flat surfaces
- Good for desk content
- Easy to carry
Lightweight Travel Tripods
- Compact
- Quick setup
- Ideal for outdoor shoots
Most of these cost under $5–$15 in local markets — crazy value.
Comparison Table (Which One Should You Pick?)
| Type | Stability | Portability | Creativity | Best Use |
|---|---|---|---|---|
| Flexible Octopus | Medium | High | High | Outdoor, creative shots |
| Mini Tripod | High | Medium | Low | Desk videos |
| Travel Tripod | Medium | High | Medium | Vlogging |
| Selfie Stick Tripod | Low-Medium | High | Medium | Quick content |
Pro Insight: Flexible tripods are the most versatile for solo creators.
The Real Secret: It’s Not the Tripod — It’s How You Use It
Let’s be honest…
You can buy a $10 tripod and still create cinematic content.
Or buy a $100 one and make boring videos.
The difference is:
- Framing
- Angles
- Movement
Step-by-Step: How to Use a Cheap Tripod Like a Pro
This is where most beginners fail.
Step 1: Set the Right Height
Don’t place your camera too low.
Best positions:
- Eye level (talking videos)
- Slightly above (clean look)
Bad angles kill professionalism.
Step 2: Lock Stability Properly
Cheap tripods can wobble.
Fix it by:
- Spreading legs fully
- Using flat surfaces
- Adding weight (if needed)
Stability first… always.
Step 3: Frame Like a Creator
Use:
- Rule of thirds
- Clean background
- Proper headroom
Your framing matters more than your gear.
Step 4: Add Motion (Keyframing Trick)
Static shots can feel boring.
In editing:
- Add slight zoom-in
- Use subtle keyframing
- Create movement digitally
This turns a basic tripod shot into dynamic content.
Step 5: Combine With Lighting
Even the best tripod won’t save bad lighting.
Use:
- Front light
- Soft shadows
- Balanced exposure
Lighting + stability = pro visuals.
Advanced Creator Setup (Under Budget)
Here’s a full budget setup:
- $10 tripod
- Phone camera
- Free editing apps (CapCut AI)
- Basic light
That’s enough to create viral content.
No excuses.
AI + Tripod Workflow (2026 Strategy)
Modern creators combine gear + AI:
- Shoot stable footage using tripod
- Enhance in CapCut AI (captions, effects)
- Refine using Runway (background, cleanup)
- Final export
Tripod ensures clean base footage.
AI enhances it.
High-Retention Filming Techniques
Even with a cheap tripod, do this:
1. Fast Scene Changes
- Move tripod between shots
- Change angles
2. Close-Up Shots
- Zoom in manually
- Create intimacy
3. POV Angles
- Mount tripod creatively
- Use unique perspectives
Creative angles > expensive gear.
Common Mistakes (That Ruin Your Shots)
Let’s fix these fast:
- Using unstable surfaces
- Ignoring framing
- Shooting too far away
- Not checking background
- Relying only on one angle
And yeah… sometimes your tripod isn’t the problem — your setup is.
Pro Tips for Budget Creators
- Carry tripod everywhere
- Use natural objects for support
- Combine tripod + handheld shots
- Shoot multiple angles
- Always test before recording
Small improvements = big results.
The Retention Connection (This Is Important)
Stable video keeps viewers watching.
- No shake = less distraction
- Clean framing = more focus
- Professional feel = higher trust
That means:
More watch time → more reach
Final Thoughts (Creative Mentor Mode)
Look, the best mobile tripods for solo content creators under $20 are more than enough to build a serious content career.
You don’t need expensive gear.
You need:
- Smart shooting
- Clean setup
- Creative thinking
Once you master that, even a cheap tripod becomes a powerful tool.
Your Next Move
Buy a budget tripod.
Then:
- Shoot 3 different angles
- Add keyframing in editing
- Improve your lighting
Post the result.
You’ll see the difference instantly.
And if you want more pro-level gear guides, editing strategies, and AI workflows, check out vfxcut.xyz — the ultimate hub for short-form creators and VFX artists.
Now stop waiting for expensive gear… and start creating like a pro 🚀