If you’ve ever watched a Netflix-style reel or a cinematic TikTok and thought, “Why does this feel like a movie even though it’s just a phone video?” — the answer is almost always black bars.
And in 2026, creating cinematic black bars in CapCut mobile has become one of the fastest ways to instantly upgrade your content from “random clip” to “cinematic storytelling.”
Look, I’ve spent years inside editing suites cutting short-form content, and I can tell you something very simple: black bars don’t improve your footage… they improve perception of your footage.
Let’s break it down properly like a professional VFX artist.
Why Cinematic Black Bars Still Dominate in 2026
Even with AI-generated video tools like Runway-style generators and cinematic models like Sora-level systems, aspect ratio manipulation is still one of the most powerful storytelling tools.
Black bars help you:
- Create instant cinematic framing
- Hide vertical smartphone limitations
- Increase perceived production value
- Guide viewer focus to subject
- Improve emotional storytelling impact
In short:
Black bars = instant cinematic authority
That’s why every viral editor uses them in short-form storytelling.

Tools Used for Cinematic Formatting in 2026
Modern creators combine mobile editing with AI-powered cinematic tools:
- CapCut → Main mobile editing tool
- Runway ML → AI cinematic backgrounds and framing assistance
- Sora → Ultra-realistic cinematic environment generation
- Adobe Premiere Pro → Professional widescreen formatting and export control
But for mobile creators, CapCut alone is more than enough.
CapCut vs Premiere Pro (Cinematic Black Bars Workflow)
| Feature | CapCut Mobile | Premiere Pro |
|---|---|---|
| Black Bars Control | Simple overlays or canvas adjust | Advanced aspect ratio control |
| Ease of Use | Beginner friendly | Professional workflow |
| Speed | Instant editing | Slower but precise |
| Customization | Limited but effective | Fully customizable cinematic formats |
| Best For | TikTok/Reels creators | Film & commercial editors |
If your goal is viral content, CapCut wins on speed and simplicity.
How Creating Cinematic Black Bars in CapCut Mobile Actually Works
Before jumping into steps, understand the concept:
Black bars are not just decoration.
They are:
- Aspect ratio manipulation
- Visual compression technique
- Focus framing system
They simulate:
- 2.35:1 cinema ratio
- Letterbox framing
- Filmic composition structure
Now let’s build it properly.
Step-by-Step: Creating Cinematic Black Bars in CapCut Mobile
Now I’ll walk you through the exact professional workflow.
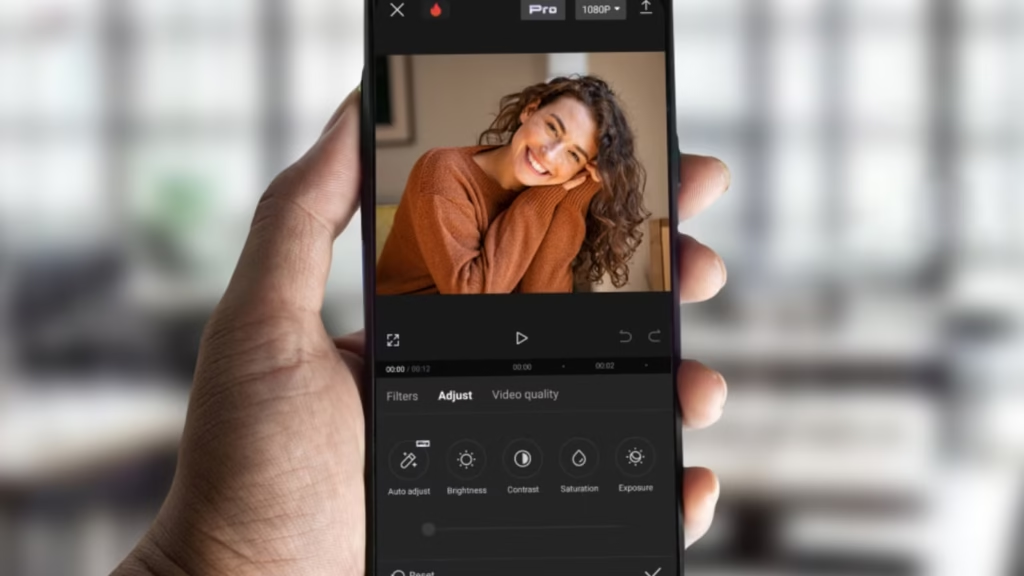
Step 1: Import Your Footage
Open CapCut and import your clip.
Best practices:
- Use 1080p or higher footage
- Ensure subject is centered
- Avoid extreme cropping during shooting
- Prefer stable footage for cinematic feel
Here is the real talk about high-retention editing: black bars cannot fix bad framing — they only enhance good composition.
Step 2: Set Your Base Canvas Ratio
Go to:
Format / Ratio Settings
Choose:
- 16:9 for cinematic widescreen base
OR - 9:16 for TikTok/Reels vertical cinematic framing
Then prepare your layout.
Most viral editors use 9:16 + cinematic bars for shorts.
Step 3: Add Black Bars Overlay
Now the cinematic transformation begins.
Method 1 (Simple Overlay):
- Add “black solid color” overlay
- Resize to top and bottom edges
- Duplicate for both sides if needed
Method 2 (Advanced Canvas Method):
- Add canvas background
- Set black color
- Adjust safe zones
Both methods work, but overlay gives more control.
Step 4: Adjust Bar Thickness (Critical Step)
This is where most beginners go wrong.
Recommended ratios:
- Subtle cinematic look → 5–8% height
- Standard film look → 10–12% height
- Extreme cinematic drama → 15% max
Anything more breaks immersion.
Too thick = amateur look
Too thin = no cinematic impact
Step 5: Match Composition to Cinematic Framing
Now adjust your video position inside the frame:
- Keep subject aligned on rule of thirds
- Avoid center-only framing (unless intentional)
- Use vertical space for movement
This step transforms black bars from “overlay” into storytelling structure.
Step 6: Add Subtle Keyframe Motion (Pro Trick)
Static black bars are good.
But animated cinematic framing is better.
Use keyframes to:
- Slightly zoom in during emotional beats
- Slowly pan subject within frame
- Add micro movement for realism
Even 2–3% movement improves retention dramatically.
Step 7: Apply Cinematic Color Grading
Now integrate mood.
Adjust:
- Contrast (slightly higher)
- Saturation (slightly lower for film look)
- Shadows (deeper blacks)
- Temperature (cool or warm based on theme)
Black bars + color grading = true cinematic illusion.
Step 8: Enhance with AI Cinematic Tools (2026 Upgrade)
Modern CapCut integrates AI enhancement tools:
- Smart scene stabilization
- AI color balancing
- Motion smoothing
- Auto subject enhancement
You can also combine with Runway ML for cinematic background generation or environment replacement.
Step 9: Add Depth with Motion Blur + Film Grain
To complete the cinematic illusion:
- Add subtle motion blur during movement
- Apply light film grain (5–10%)
- Avoid over-sharpening
This mimics real camera behavior.
Step 10: Export Settings for Cinematic Shorts
Use these export settings:
- Resolution: 1080p or 4K
- FPS: 30 or 60 depending on footage
- Bitrate: High (15–25 Mbps recommended)
- Format: MP4 (H.264)
Proper export ensures black bars don’t distort or compress incorrectly.
Cinematic Black Bars Settings Checklist (2026 Standard)
Before posting, verify:
- ✔ Bars are symmetrical
- ✔ Thickness is consistent
- ✔ Subject fits within safe framing zones
- ✔ No unwanted cropping
- ✔ Color grading matches mood
- ✔ Motion feels natural
- ✔ No visual compression artifacts
Common Mistakes Beginners Make
Mistake 1: Overusing Thick Bars
Too thick = amateur cinematic imitation.
Mistake 2: Ignoring Composition
Bars don’t fix bad framing.
Mistake 3: No Color Grading
Without grading, cinematic illusion breaks instantly.
Mistake 4: Static Dead Frames
No motion = low engagement.
Even small mistakes reduce perceived quality.
Why Black Bars Still Work in 2026
Even with AI-generated cinematic videos, human perception still responds strongly to:
- Aspect ratio changes
- Frame compression
- Visual focus narrowing
That’s why black bars still dominate short-form cinematic edits.
They don’t add information — they control attention.
And attention = retention.
Where vfxcut.xyz Comes In
At vfxcut.xyz, we break down real editing systems used by viral creators—not theory, but actual production workflows.
You’ll learn:
- Cinematic framing techniques
- AI-assisted video editing workflows
- Keyframing for emotional storytelling
- Color grading for retention optimization
This is where mobile editors become cinematic creators.
Final Thoughts
Learning creating cinematic black bars in CapCut mobile is not about adding black overlays.
It’s about understanding how framing controls emotion.
When used correctly, black bars:
- Instantly upgrade video quality perception
- Improve storytelling focus
- Increase viewer retention
- Make mobile footage feel cinematic
But here’s the truth most creators miss:
Cinematic isn’t about resolution — it’s about intention.
CTA
Now it’s your turn.
Open CapCut mobile, apply cinematic black bars, and start experimenting with framing, motion, and color grading.
Then explore more advanced VFX workflows, cinematic editing systems, and viral short-form techniques on vfxcut.xyz, your ultimate hub for short-form creators and VFX enthusiasts.
Go create something that doesn’t just look cinematic… but feels cinematic.