Fix Instagram Reels audio sync issues after upload with pro editing, export, and AI workflow techniques (2026 guide).
Look, I’ve spent hours in the editing suite so you don’t have to… and if there’s one thing that kills a Reel faster than bad lighting, it’s audio out of sync. Even a 0.2-second delay can destroy retention, break immersion, and stop your content from going viral.
In this deep-dive guide, you’ll learn how to fix Instagram Reels audio sync issues after upload, plus the real reasons it happens — and how top creators avoid it completely using modern AI workflows.
This isn’t basic advice. This is the stuff editors actually use.
Why Instagram Reels Audio Goes Out of Sync (2026 Reality Check)
Before fixing it, understand the problem.
Here’s the real talk about high-retention editing: sync issues don’t happen randomly — they’re caused by technical mismatches.
Common Causes
- Variable Frame Rate (VFR) footage from phones
- Improper export settings (especially bitrate + FPS mismatch)
- Instagram compression algorithm (still aggressive in 2026)
- Audio sample rate mismatch (44.1kHz vs 48kHz)
- Editing in apps that auto-adjust timing (yes, this happens)
- Uploading over unstable internet (causes encoding glitches)
Even tools like CapCut AI or Runway can mess this up if your base settings are wrong.
The Golden Rule (Most Creators Ignore This)
If you remember ONE thing:
Always edit and export in CONSTANT FRAME RATE (CFR)
This single fix solves about 70% of sync issues.
Pro Editing Software Comparison (Sync Stability Focus)
| Feature | CapCut AI | Premiere Pro | Runway AI |
|---|---|---|---|
| Frame Rate Control | Medium | Full Control | Medium |
| Audio Sync Precision | Good | Excellent | Good |
| AI Auto Adjustment | High (can cause drift) | Low | High |
| Export Customization | Limited | Advanced | Medium |
| Best For | Quick edits | Professional Reels | AI-heavy workflows |
Pro Tip: If your Reel must be PERFECT (lip-sync, dialogue), use Premiere Pro. CapCut is great, but sometimes it “helps” too much.
Settings Checklist (Fix Sync Before Upload)
Use this checklist BEFORE exporting your Reel:
Video Settings
- Resolution: 1080×1920 (vertical)
- Frame Rate: 30fps (or 24fps, but stay consistent)
- Frame Type: Constant Frame Rate (CFR)
- Codec: H.264
Audio Settings
- Sample Rate: 48kHz (important!)
- Bitrate: 320 kbps
- Format: AAC
Timeline Settings
- Match timeline FPS with export FPS
- Avoid mixing 24fps + 30fps clips
- Manually align audio (don’t trust auto-sync fully)
Miss one of these, and your editting can break after upload.
Step-by-Step: How to Fix Instagram Reels Audio Sync Issues After Upload
Now let’s fix it properly.
Step 1: Re-Import Your Original Video
Don’t edit the downloaded Instagram version.
Go back to:
- Original footage
- Original timeline project
Compressed files already have timing distortion.
Step 2: Convert to Constant Frame Rate (CRITICAL)
Use tools like:
- HandBrake
- Premiere Pro (Interpret Footage)
- Media Encoder
Set:
- Frame rate = Constant
- Match your timeline (e.g., 30fps)
This step alone fixes most desync problems.
Step 3: Manually Sync Audio (Frame-Level Precision)
Zoom into timeline.
- Align lip movement with waveform peaks
- Use markers for dialogue points
- Shift audio by milliseconds if needed
Don’t rely on auto-sync — it’s not perfect, especially with AI processed clips.
Step 4: Disable Auto AI Adjustments
In tools like CapCut AI or Runway:
Turn OFF:
- Auto beat sync
- Smart timing adjustments
- Auto captions timing (temporarily)
These features can subtly shift audio timing.
Step 5: Export With Correct Settings
Export settings should be:
- H.264
- 1080×1920
- 30fps constant
- AAC 48kHz
Avoid:
- HEVC (can cause issues on upload)
- Variable bitrate spikes
Consistency > compression.
Step 6: Upload Using Stable Internet
Sounds basic, but it matters.
Upload with:
- Strong WiFi
- No background downloads
Instagram sometimes re-encodes badly on weak connections.
Advanced Fix (Used by Pro Editors)
If your Reel STILL has sync issues:
Trick: Add a Silent Audio Layer
- Add a silent audio track underneath
- Export again
This forces Instagram to reprocess audio differently.
Weird? Yes. Effective? Also yes.
AI Tools Workflow (2026 Optimization)
Modern creators are using AI — but incorrectly configured AI can CAUSE sync issues.
Best Workflow
- Edit base video in Premiere Pro (for accuracy)
- Enhance in Runway (background, VFX)
- Final polish in CapCut AI (captions, effects)
- Export again from a stable editor
Don’t do full edits in AI tools only — they sometimes alter timing dynamically.
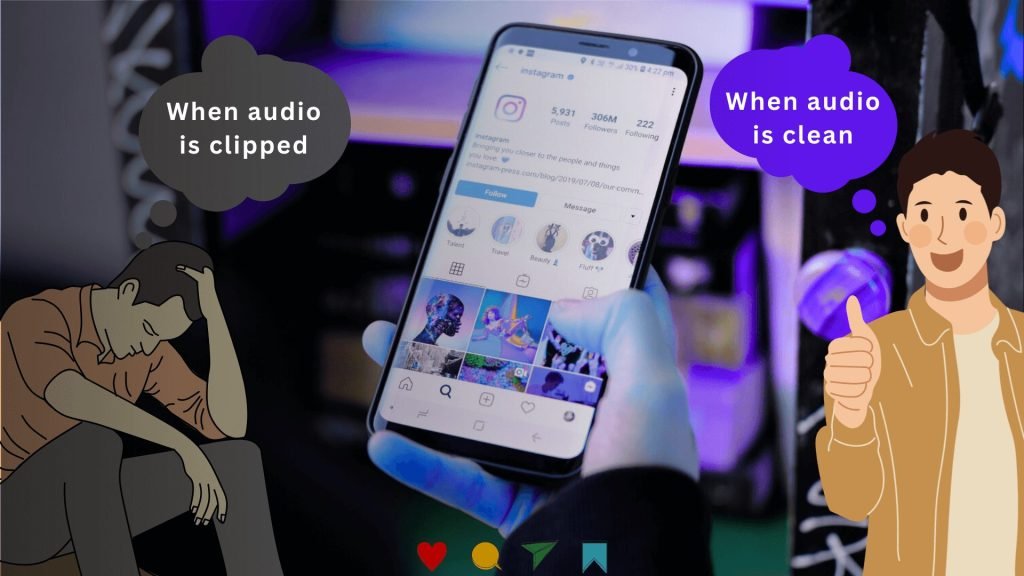
Retention Impact: Why Sync Matters More Than Ever
Here is the brutal truth:
- Viewers notice sync issues in under 1 second
- Watch time drops instantly
- Algorithm reduces reach
Good sync = better retention = more viral potential
Bad sync = scroll away
That simple.
Common Mistakes (That Ruin Your Reel)
Avoid these:
- Mixing FPS clips (24 + 60 fps)
- Using TikTok export for Instagram
- Uploading directly from editing apps
- Ignoring audio sample rate
- Overusing AI auto timing
And yes… exporting in the wrong format once can ruin your entire proccess.
Pro-Level Tips for Perfect Sync
- Always clap or snap at start of recording (sync reference)
- Use waveform matching instead of visual guessing
- Keep edits tight — long cuts hide sync issues poorly
- Do a test upload before publishing
And one more thing:
Watch your Reel after upload before posting publicly.
Sounds obvious, but most creators skip this step.
Final Thoughts (Creative Mentor Advice)
Look, fixing Instagram Reels audio sync issues after upload isn’t about one trick — it’s about controlling your entire pipeline.
From frame rate → timeline → export → upload.
Once you lock this in, your content instantly feels more “premium”. Viewers may not know why… but they feel it.
And in 2026, that feeling = retention.
Your Next Move
Now go test this workflow:
- Fix one old Reel
- Re-upload with correct settings
- Compare retention
You’ll see the difference.
And if you’re serious about mastering short-form editing, AI workflows, and viral storytelling, explore more pro-level tutorials on vfxcut.xyz — the ultimate hub for creators who don’t just edit… they craft experiences.
Now go fix your sync — your next viral Reel is waiting.